Windows Media Player lets you copy music from your CDs to your PC’s hard drive. You can then listen to these digital audio files on your computer, transfer the files to a portable music player, or burn your own custom mix CDs. This process of copying files from a CD to your hard disk is called ripping.
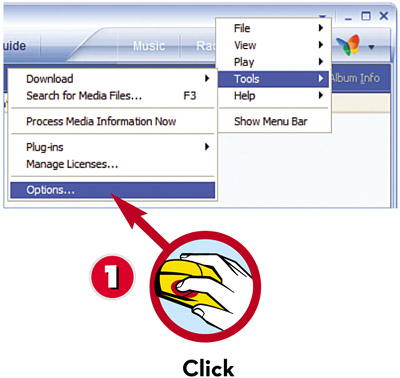
 Before you rip a CD, you have to set the recording quality level. Pull down the Tools menu and select Options.
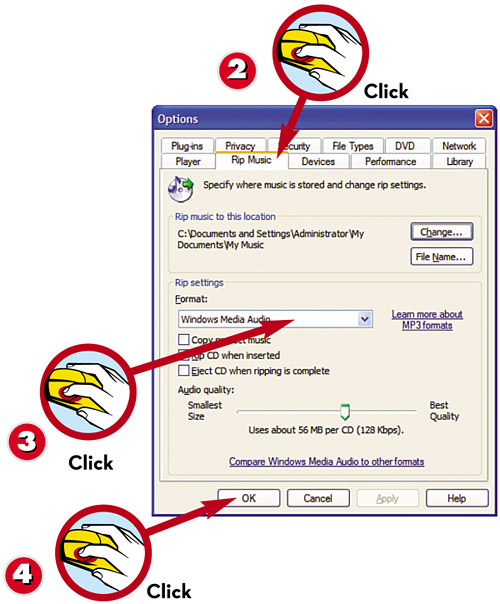
 When the Options dialog box appears, click the Rip Music tab.
 Pull down the Format list and select the file format and recording quality you want.
 Click OK.
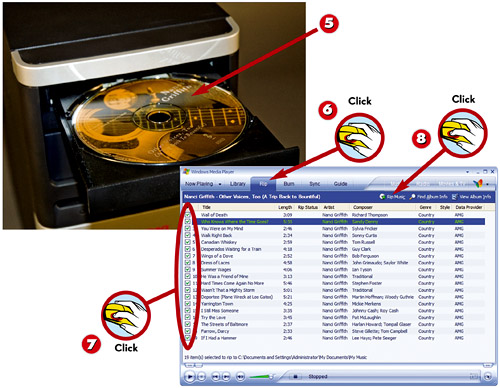
 Insert the CD you want to rip into your PC’s CD-ROM drive.
 In WMP, click the Rip tab to show the contents of the CD.
 Put a check mark by the tracks you want to copy.
 When you’ve selected which tracks to rip, click the Rip Music button.
TIP
Connect to the Internet
Before you rip a CD, you should make sure your PC is connected to the Internet. This lets WMP download track names and CD cover art for the songs you’re ripping.
NOTE
Music Files
WMP stores your ripped music files in your My Music folder. It creates a subfolder for the artist, and within that another subfolder for each of the artist’s CDs.
Leave a Reply