Adding an internal device–usually through a plug-in card–is slightly more difficult than adding an external device, primarily because you have to use a screwdriver and get under the hood of your system unit. Other than the extra screwing and plugging, however, the process is pretty much the same as with external devices.
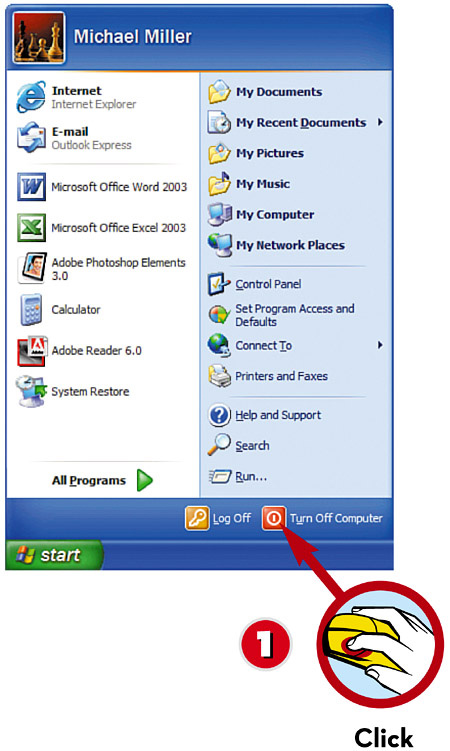
 Click the Start button and select Turn Off Computer.
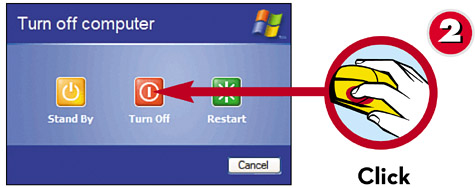
 When the Turn Off Computer screen appears, click Turn Off.
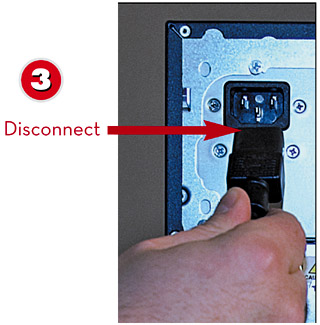
 Unplug the power cable from the back of your system unit.

 Unscrew the screws attaching the case of your system unit.
 Remove the system unit’s case.CAUTION
 Turn Off the Power!Never touch anything inside your computer while the power is still on and connected. Always turn off your PC and unplug the power cord, just to be safe.NOTE
 Device DriversA device driver is a small software program that lets your PC control a given device. If Windows doesn’t include a particular driver, you typically can find the driver on the installation CD or on the manufacturer’s website.
 Find an open card slot inside the system unit that fits the type of card you’ll be installing.
 Unscrew and remove the cover plate for the open slot. (Save the screw.)NOTECommon UpgradesThe most common types of internal computer upgrades are sound cards and video cards. You can also add cards to provide additional ports for your system–USB, FireWire, serial, or parallel.

 Insert the new card into the open slot, making sure it’s firmly seated.
 Screw the card into place.CAUTIONAvoid Electrostatic ShockYou should avoid touching any of the sensitive components inside your PC because you might transfer a damaging electrostatic shock. You can minimize this risk by wearing an antistatic wrist band.

 Put the case back on the system unit.
 Screw the case back together.TIP
 Test It Before You Finish ItYou probably want to see whether the new component configures and works properly before you close your system unit. For that reason, you might want to leave the case off until you’re convinced everything is working okay and you don’t need to do any more fiddling around inside your PC.

 Reattach the power cable to the system unit.
 Turn your computer back on. As Windows starts, it should recognize the new device and either install the proper drivers automatically or ask you to supply the device drivers (via CD-ROM).
TIP
Installation Programs
Some peripherals come with their own installation programs either on CD or floppy disk. Always follow the manufacturer’s instructions when installing a new device.
Leave a Reply